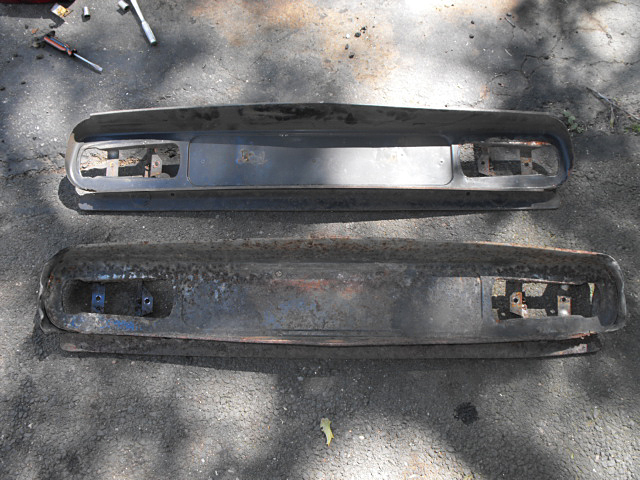
The rear lights did not work at all. A lot of rust everywhere. First, I removed the fenders and bumper. I was amazed that the nuts on the brackets did not get damaged. The bumper is aluminum, which is strange. One light was damaged so the car might have been lightly rear ended and someone changed the bumper with one from an ID (I am guessing). It is interesting to see the skirt below the bumper which has been deleted afterwards.
Note to myself: The rear lights connector is on the left (when looking at the connectors) and the brake light connector is on the right (Respectively wire #1 and #29)
The rear plate is really bad and would be difficult to restore; I have another one in much better shape and identical.
The early ones have an extra piece of metal on the top.
Due to the rust the ground was not reaching the bulbs.
After sand blasting and painting...
I have drilled a hole facing down to add a ground wire.
The early bulb holders were steel and later became copper. The little difference being the little tab at the bottom on the picture. The plastic lens will hold this part. I have solder a wire on the copper plate to have a good ground connection.
Early lights have a metal cover over the license plate bulb.
I will restore these for now but I have to find some "new" ones.
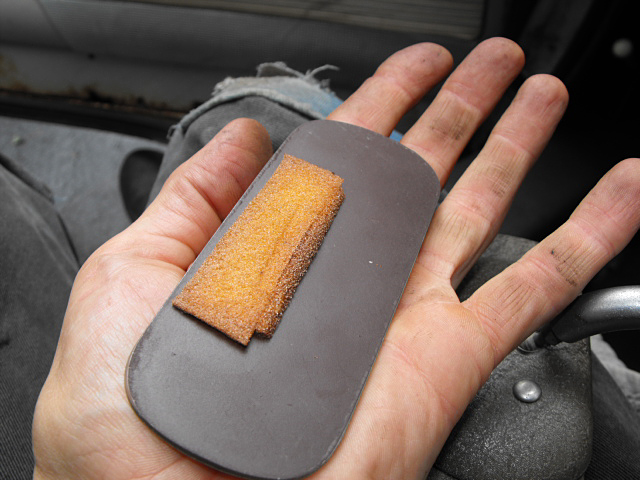
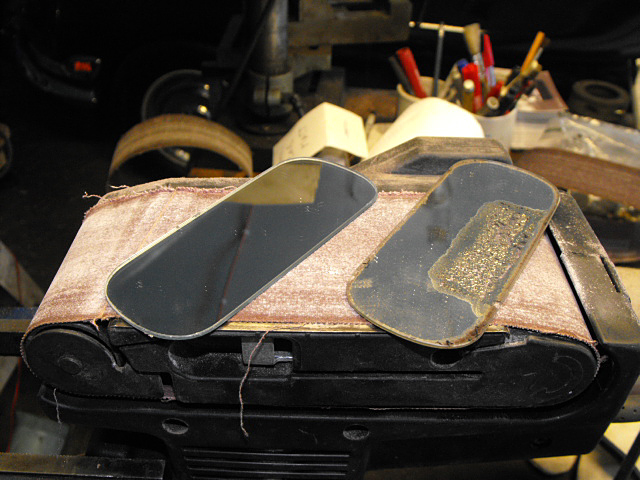
I have remove some paint on the lens and sanded them.
New bulbs along with repainted reflectors (Chrome paint).
The cover are painted and the lenses polished.
I could not put the rear plate back on without protecting the body.
Interesting detail: A copper insert is there to drain the water.
After removing most of the rust, I've applied POR15 on the body. The rubber skirts cleaned up nicely with lacquer thinner.
I have sandblasted the rust areas on the rear plate and welded shut some holes. In the future, I probably will sand blast the entire piece when I prep the car for paint. It is protected against rust for now but it could be better.
I have ground the POR off around one hole on each side to insure the ground connection.
These will bring the ground right to the bulb holders.
Working! It is nice to see the car coming back to life. There is still a problem with the harness but I'm working on it.
I am keeping the original plate...
... because there were some rubber riveted on each side; another feature that was deleted later on. This winter I will add the rubber pieces to the new piece.
Nice!
Another detail: The bumper has rubber flaps on each side below the reflectors.